When installing an AutoAlert GPS Tracker, first check all the electrics on your vehicle (check lights etc)
Take out the dashboard to gain access to the vehicle wiring
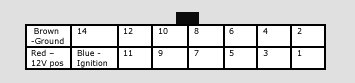
Find a 12v power source which provides constant power, ground and ignition.
Note: Ensure the source provides 12v constantly including when the ignition is switched off or when the indicator lights are flashing
Get the wires for the 12V constant (Red), Ground (Brown) and ignition (Blue) from the wiring loom and prepare to connect to the vehicle
Strip the plastic coating on the wire from the new 12v source back ensuring the wire is not damaged (ideally using a wire stripping tool)
Wrap the new connector wire around the exposed wires and then solder
Use insulating tape to cover the connection
Route the connector to where the unit is to be mounted ensuring not to kink the wire or place near hot or moving parts
Locate the antenna ensuring it has a good view of the sky. It can transmit through plastic and glass but not metal.
Plug in the unit and the antenna. After a few seconds, the LEDs should start flashing. This will be red for a couple of seconds initially, then either red or orange every second once the unit has GPS and green every couple of seconds once it has a connection to the mobile network.
Check the electrics again to ensure no fuse has blown
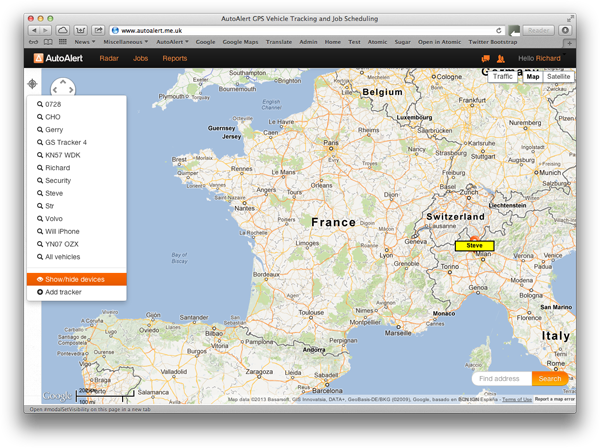
Turn on the ignition. The unit’s location will be updated on the AutoAlert website which can be accessed using your email and password from the top of the screen.


 0207 099 5698